When you’re looking to optimize your Thermo Autosampler settings, it’s essential to start with the right injection volume and temperature for your samples. Adjusting factors like wash cycles and injection speed can significantly impact your results. You might find that small tweaks lead to noticeable improvements in accuracy and reliability. But before you finalize those settings, consider how sample preparation and regular maintenance can further enhance performance. There’s more to uncover about maximizing your autosampler’s potential, and it’s worth exploring the nuances that can set your results apart.
Understanding Your Autosampler
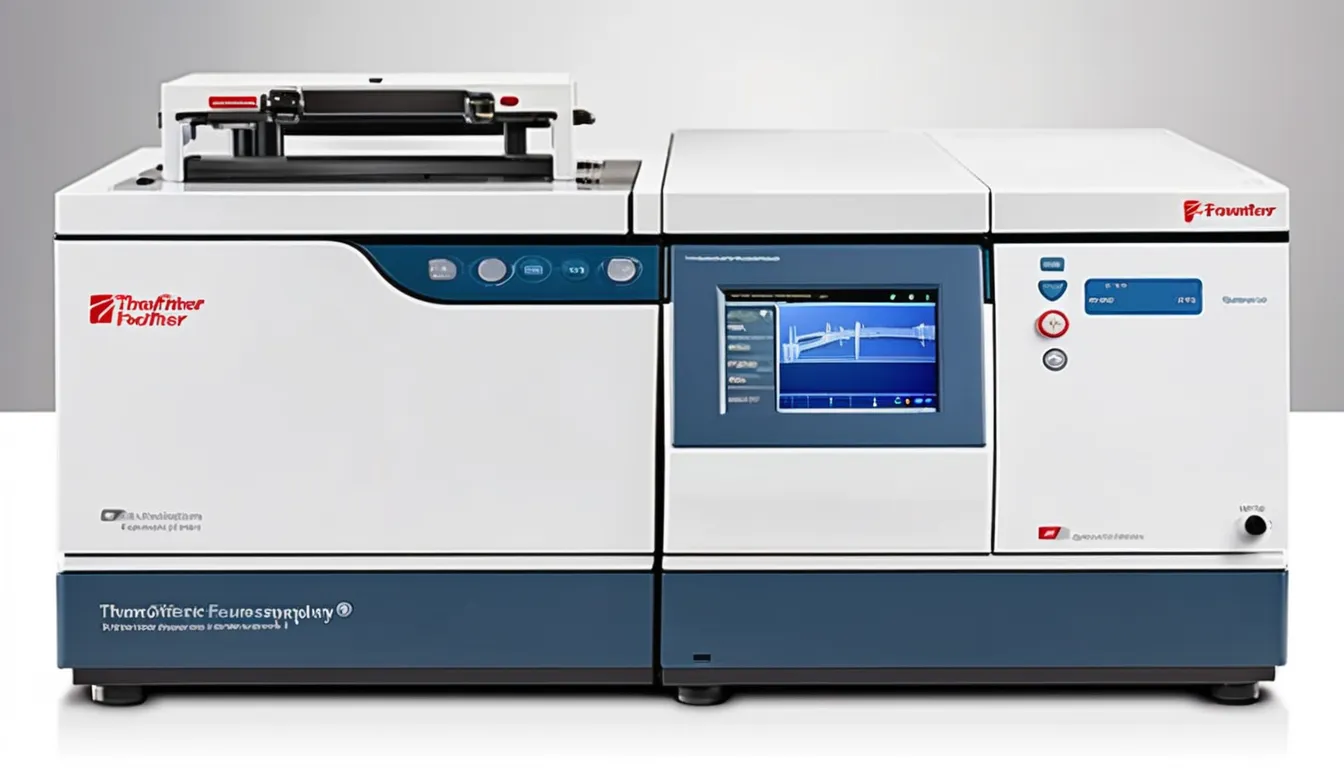
When you’re working with a Thermo autosampler, getting to know its features and functionalities can make all the difference in your results. Familiarize yourself with the layout of the instrument. You’ll find various compartments, including the sample tray, where you load your vials, and the injection port, which is crucial for sample transfer. Each part plays an essential role in achieving precise sample handling.
Next, pay attention to the different modes your autosampler offers. Whether you’re working with single injections or multiple sample runs, understanding how to switch between these modes will streamline your workflow and improve efficiency.
Make sure to explore any automated features, like the ability to perform dilutions or mix samples, which can save you time and reduce human error.
Don’t overlook the importance of maintenance. Regularly check for blockages in the sample lines and ensure that the injection needle is clean. Keeping your autosampler in optimal condition will enhance its reliability and longevity.
Key Settings to Adjust
To get the best results from your Thermo autosampler, you’ll want to fine-tune several key settings.
Start with the injection volume; adjusting this parameter ensures that you’re using the right amount of sample for your analysis. Typically, a volume between 1-10 µL works well, but check your specific method requirements.
Next, focus on the sample temperature. Maintaining a consistent temperature can enhance sample stability and reduce viscosity, which impacts the accuracy of your injections. Set the temperature to match your sample type, usually between 4°C and room temperature.
Don’t overlook the wash and rinse cycles. Ensuring that your autosampler has adequate wash settings between samples prevents cross-contamination. A good practice is to set multiple wash cycles with an appropriate solvent to clean the needle effectively.
Also, review the injection speed. A slower injection can help prevent issues like sample splashing and carryover, while a faster speed may be necessary for highly viscous samples. Adjust this based on your specific application.
Sample Preparation Techniques
Sample preparation is crucial for achieving reliable results in chromatographic analysis. If you want to ensure your samples are ready for accurate analysis, it’s essential to follow effective preparation techniques.
Here are some key points to consider:
- Sample Homogeneity: Make sure your samples are well-mixed to avoid inconsistencies in analysis. Inadequate mixing can lead to uneven distribution of analytes.
- Filtration: Always filter your samples to remove any particulates. This helps prevent clogging in the autosampler and reduces the risk of damage to your analytical column.
- Dilution: If necessary, dilute your samples to bring analyte concentrations within the optimal range for your instrument. Proper dilution can enhance sensitivity and improve detection limits.
Troubleshooting Common Issues
Troubleshooting common issues with your thermo autosampler can save time and improve your analysis quality.
If you notice inconsistent sample injections, first check the syringe for air bubbles or blockages. These can lead to inaccurate volumes being dispensed. Ensure the syringe is clean and properly calibrated.
Another common issue is the temperature fluctuation of the sample tray. If your samples aren’t maintaining the required temperature, verify that the tray is correctly set up and that the temperature control settings are accurate. Adjusting the settings can help stabilize the temperature.
If you experience poor sample recovery, inspect the sample lines and injectors for any signs of wear or contamination. Replacing these components might be necessary to ensure optimal performance. Additionally, ensure that the samples are properly prepared and compatible with the autosampler’s specifications.
Lastly, if you encounter error messages, consult the user manual for troubleshooting guidance specific to your model. Often, resetting the system or recalibrating the device can resolve these issues.
Regular Maintenance Practices
Regular maintenance practices can significantly extend the life of your Thermo autosampler and ensure consistent performance. By keeping your instrument in top shape, you’ll reduce downtime and improve data quality.
Here are a few key practices to incorporate into your routine:
- Clean the sample and wash lines: Regularly flushing these lines with appropriate cleaning solutions helps prevent carryover and contamination.
- Inspect and replace seals: Check the seals for wear and tear frequently. Replacing them as needed will ensure proper functioning and prevent leaks.
- Calibrate your autosampler: Conduct routine calibrations to maintain accuracy and reliability. This is crucial for achieving precise results.
In addition to these practices, maintaining a clean workspace around your autosampler is essential. Dust and debris can affect performance, so keep the area tidy.
By committing to these maintenance tasks, you’ll not only enhance the longevity of your Thermo autosampler but also optimize its performance autosampler for thermo better results.
Conclusion
By optimizing your Thermo Autosampler settings, you can significantly enhance your results. Adjust the injection volume, maintain consistent sample temperatures, and set appropriate wash cycles to minimize cross-contamination. Pay attention to injection speed based on your sample viscosity, and don’t forget to regularly review and calibrate your settings. With these practices in place, you’ll ensure your autosampler performs at its best, leading to more accurate and reliable outcomes in your analyses.


